Your backflow preventer stands as the silent guardian between your clean drinking water and potential contamination from irrigation systems, fire sprinklers, or chemical mixers. Testing this critical device isn’t just a regulatory checkbox—it’s a fundamental safeguard that prevents toxic substances, bacteria, and chemicals from reversing flow into your home’s potable water supply.
Five valve backflow assemblies, commonly known as Double Check Valve Assemblies (DCVA) or Reduced Pressure Zone (RPZ) devices, require annual testing by certified professionals to ensure they function correctly. Each valve serves a specific purpose in the contamination prevention chain, and understanding these test procedures empowers you to verify your water system receives proper maintenance.
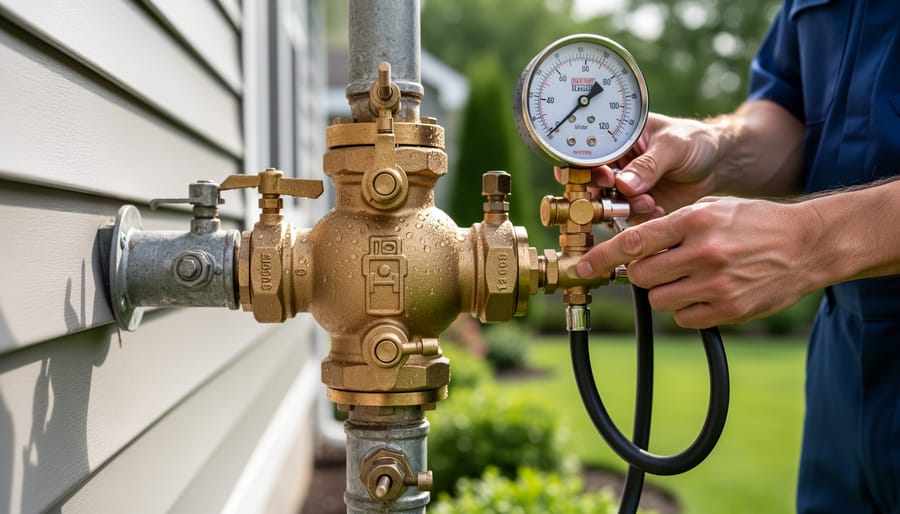
The testing process examines five critical checkpoints: the two shutoff valves that isolate the assembly, the two check valves that prevent reverse flow, and the relief valve (in RPZ devices) that discharges potentially contaminated water. During testing, technicians use specialized gauge kits to measure pressure differentials and confirm each component operates within required parameters. A single failing valve can compromise your entire water supply, making this seemingly routine inspection remarkably important.
Whether you’re a homeowner preparing for your first backflow test, a property manager overseeing multiple buildings, or someone studying for certification, understanding these procedures demystifies an essential water safety practice. The following breakdown explains each testing step in straightforward terms, revealing how these ingenious mechanical assemblies protect the water you drink, cook with, and bathe in every day. This knowledge transforms backflow testing from an obscure plumbing requirement into a transparent, logical process you can confidently discuss with contractors and inspectors.
Why Backflow Prevention Matters in Your Home
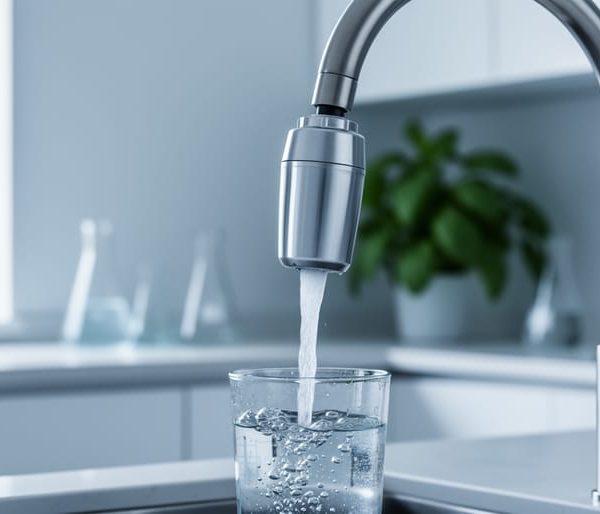
Backflow is essentially water flowing in the wrong direction through your plumbing system. Instead of clean water moving from the municipal supply into your home, contaminated water can reverse course and flow back into the public water system or your own drinking water lines. This happens when pressure changes occur in your plumbing, creating a vacuum that pulls water backward.
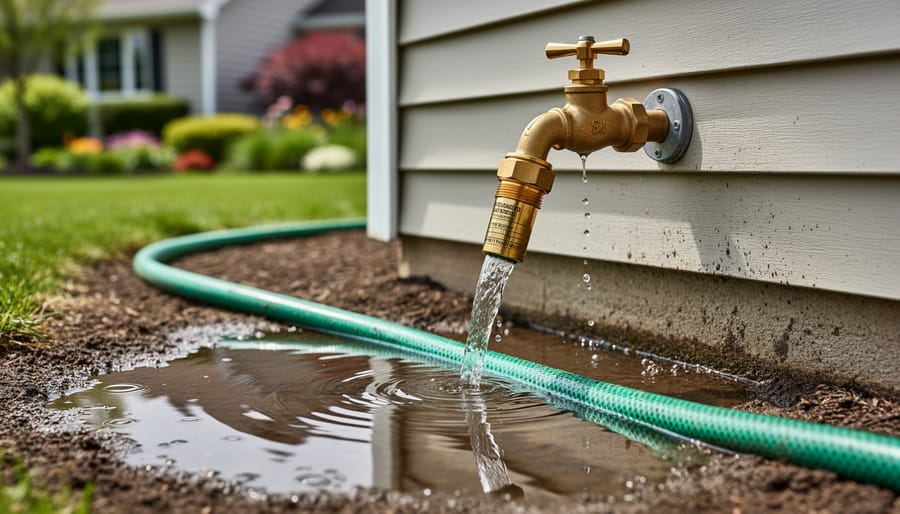
Think about common scenarios in your home. When you attach a garden hose to a faucet and leave the end submerged in a bucket of soapy water or fertilizer, backflow can occur if water pressure suddenly drops. Similarly, your irrigation system connecting directly to your home’s water supply poses risks when chemicals or pesticides from your lawn could potentially contaminate your drinking water. Even your home heating system, which uses water mixed with antifreeze or other chemicals, can create backflow situations if the proper safeguards aren’t in place.
The health risks associated with contaminated water are serious and shouldn’t be underestimated. Backflow can introduce bacteria, chemicals, pesticides, fertilizers, and even human waste into water you use for drinking, cooking, and bathing. These contaminants can cause anything from mild gastrointestinal issues to severe illnesses, particularly affecting children, elderly family members, and anyone with compromised immune systems.
This is precisely why backflow prevention requirements exist in most jurisdictions across the country. Local and state governments mandate annual testing of backflow prevention devices to protect public health and maintain water safety standards. These aren’t just suggestions—they’re legal requirements designed to safeguard entire communities from waterborne contamination.
Your backflow prevention valve acts as a one-way gate, ensuring water flows only in the intended direction. However, like any mechanical device, these valves can fail over time due to wear, mineral buildup, or component degradation. Regular testing verifies that your valve still functions correctly, providing peace of mind that your family’s drinking water remains pure and your home stays compliant with local codes. Understanding these testing procedures empowers you to take an active role in protecting your household water quality.
Understanding Your Backflow Prevention Valve
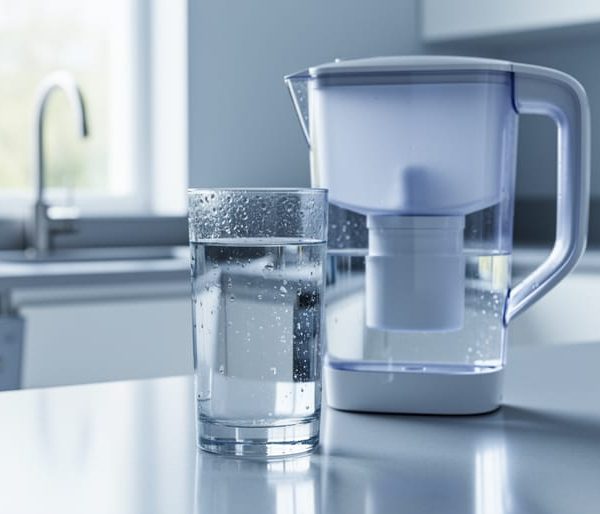
Your backflow prevention valve stands as a silent guardian in your plumbing system, protecting your drinking water from contamination. Think of it as a one-way gate that ensures water flows in only one direction—toward your taps and appliances—while preventing dirty water from reversing course and contaminating your clean water supply.
When water pressure drops unexpectedly due to a main break, heavy usage, or firefighting activities, contaminated water from irrigation systems, boilers, or even sewage lines could theoretically flow backward into your home’s clean water supply. That’s where backflow preventers step in, using check valves, air gaps, or pressure differentials to maintain water safety.
Homeowners typically encounter five main types of backflow prevention devices. The Reduced Pressure Zone (RPZ) valve offers the highest level of protection and features a relief valve that discharges water if internal components fail. Double Check Valve Assemblies (DCVA) use two check valves for moderate protection in lower-risk situations. Pressure Vacuum Breakers (PVB) prevent backflow through vacuum conditions and are commonly found on irrigation systems. Spill-resistant Vacuum Breakers (SVB) provide similar protection in a more compact design, while Atmospheric Vacuum Breakers (AVB) offer basic protection for individual fixtures like outdoor hose bibs.
Most municipalities require annual testing of backflow prevention devices to ensure they’re functioning properly. These code compliance requirements exist because even minor component failures can compromise water quality for entire neighborhoods. Testing must be performed by certified technicians who verify that check valves seal completely, springs maintain proper tension, and relief valves discharge at correct pressure differentials. Understanding which type of backflow preventer protects your home helps you appreciate why regular testing matters for both your family’s health and community water safety.

The Five Essential Valve Backflow Test Procedures
Test #1: Initial Inline Pressure Test
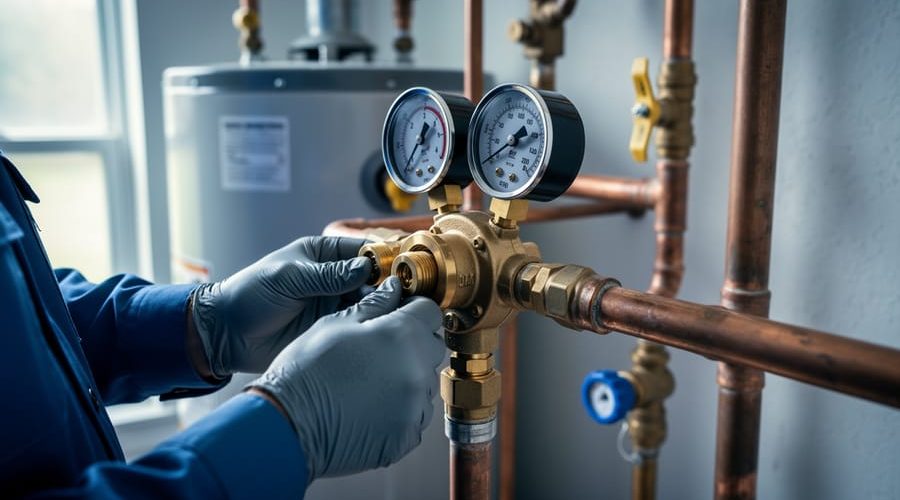
The initial inline pressure test serves as the foundation of the entire backflow testing process, essentially taking your backflow preventer’s vital signs before proceeding with more specific evaluations. This test measures the static pressure in your water line, which is the water pressure when no fixtures are running. Think of it like checking your blood pressure before a physical exam—it establishes a baseline that helps interpret all subsequent results.
Certified testers perform this test first because it reveals whether your water system has adequate pressure to support the backflow prevention device and identifies any immediate concerns before moving forward. The technician attaches specialized gauges to test ports on the backflow assembly and records the pressure reading while your water system is at rest.
Normal readings typically fall between 50 and 80 PSI (pounds per square inch) for residential systems, though this varies based on your location and local water infrastructure. Pressure significantly below 50 PSI might indicate supply line problems, partially closed valves, or issues with your municipal water system. Readings above 80 PSI could mean you need a pressure reducer to protect your plumbing fixtures and appliances from excessive wear.
This straightforward test can reveal several potential problems: leaking components within the backflow device, pressure drops that suggest upstream supply issues, or dangerously high pressure that threatens your home’s entire plumbing system. Identifying these conditions early protects both your water quality and your investment in household plumbing infrastructure. Understanding this initial checkpoint helps you appreciate why professional backflow testing is essential for maintaining safe, clean water in your home.
Test #2: Check Valve #1 Closure Test
The first check valve closure test is where your technician examines whether the initial barrier against contaminated water is doing its job. Think of check valves as one-way doors in your plumbing system—they should allow clean water to flow toward your home while preventing dirty water from flowing backward into the municipal supply.
During this test, the technician closes specific test cocks (those small valves you learned about earlier) to isolate the first check valve. They’ll then monitor the pressure differential, which is simply the difference in water pressure between the two sides of the valve. This pressure reading tells the story of whether your valve is sealing properly.
What are testers looking for? A properly functioning check valve should maintain a pressure difference of at least 1.0 psi (pounds per square inch) according to most standards. If the pressure differential drops below this threshold, it indicates the valve isn’t creating a tight seal—like a door that won’t latch completely.
Common failure points include debris buildup preventing complete closure, worn rubber seals that have degraded over time, or mineral deposits from hard water creating gaps in the seal. Even small particles can compromise the valve’s ability to protect your drinking water from potential contaminants.
From an environmental perspective, a failing check valve doesn’t just risk your water quality—it can waste treated drinking water and allow chemicals, fertilizers, or other pollutants to enter the clean water supply, affecting your entire neighborhood’s water safety.
Test #3: Check Valve #2 Closure Test
The second check valve serves as your water system’s backup guardian, providing a critical layer of protection if the first check valve fails. Think of it as a safety net that ensures contaminated water never reaches your drinking supply, even when your primary defense isn’t working perfectly.
During this test, your certified technician closes the shutoff valve downstream of check valve number two, isolating it for individual testing. They’ll then monitor the pressure readings between the two check valves. This redundancy matters because real-world conditions aren’t perfect—valves can wear down, debris can interfere with seals, or manufacturing defects might go unnoticed. Having two independent barriers significantly reduces the risk of backflow contamination entering your home’s water supply.
What makes this test different from the first check valve examination? While both valves perform the same function, check valve number two undergoes testing under different pressure conditions since it’s positioned further downstream. The technician looks for a pressure drop of at least 1 PSI, which indicates the valve is holding properly and preventing reverse water flow.
Failure readings tell an important story about your system’s health. If pressure doesn’t drop or drops insufficiently, the valve isn’t sealing correctly. Common culprits include mineral buildup from hard water, worn rubber components, or foreign particles lodged in the valve seat. Any failure means immediate repair or replacement is necessary to maintain your home’s water safety standards and protect both your family’s health and the broader municipal water supply from contamination risks.
Test #4: Relief Valve Opening Point Test
The relief valve test evaluates one of your backflow preventer’s most essential safety features. This component acts like a pressure release mechanism, protecting your home’s water system from dangerous backpressure situations that could force contaminated water backward into the clean supply.
During this test, your technician will slowly increase water pressure in the chamber between the two check valves. Think of it like inflating a balloon—the relief valve should open and release water before pressure builds to unsafe levels. The technician uses a specialized gauge to measure exactly when the valve opens, recording this critical data point.
For most residential backflow preventers, the relief valve should open when pressure reaches between 2 and 5 PSI (pounds per square inch) above your normal water supply pressure. This relatively low threshold ensures the valve activates before any real danger occurs. If the valve opens too early, you might experience water waste and reduced pressure. If it opens too late or not at all, you’re facing a potentially serious contamination risk.
Warning signs of relief valve malfunction include visible leaking when no test is running, mineral buildup around the valve opening, or complete failure to discharge water during testing. These issues compromise your water safety and require immediate professional attention.
This test directly protects your household’s drinking water quality by ensuring contaminants from irrigation systems, heating equipment, or other sources can never enter your potable water supply through backpressure events. Regular testing confirms this critical safeguard remains functional and ready to protect your family’s health.
Test #5: Final Leak and Air Gap Verification
After completing the four active tests, your backflow technician will conduct a thorough final verification to ensure everything is working properly and your water supply is protected. This comprehensive check is essential for confirming your system’s integrity and maintaining compliance with local water safety regulations.
The technician will carefully inspect all test cocks and valve connections for any signs of leaking. Even small drips can indicate problems that might compromise your backflow preventer’s effectiveness over time. They’ll also verify that all components are properly tightened and sealed after the testing process.
For devices with air gaps (a physical space between the water outlet and potential contamination sources), the technician will measure these gaps to ensure they meet code requirements. Think of air gaps as your water system’s safety buffer—they’re typically one of the most reliable backflow prevention methods because contaminated water simply cannot bridge the physical space.
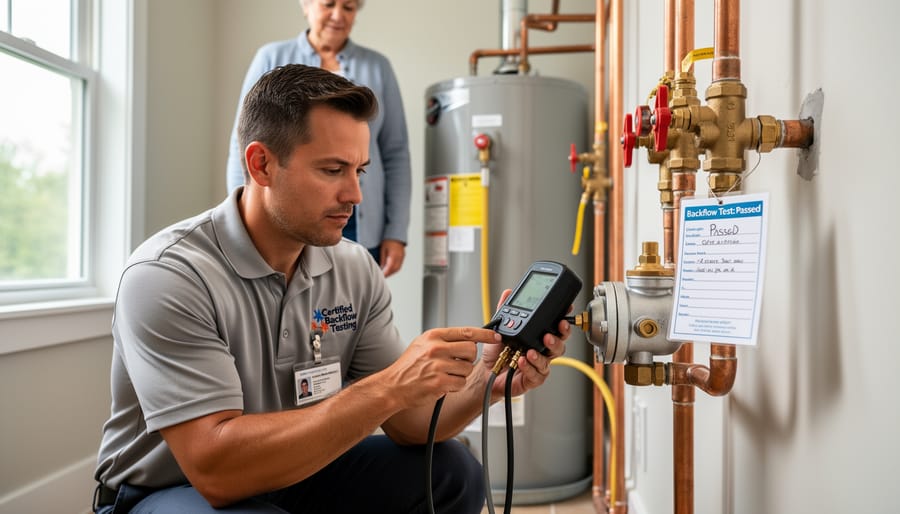
The technician will document all test results, including pressure readings, valve performance data, and any repairs or adjustments made during the process. This documentation serves as proof of compliance for your local water authority and creates a valuable maintenance history for your property. Most jurisdictions require this paperwork to be filed within a specific timeframe, usually within 30 days of testing.
Before leaving, your technician should explain the test results in plain language, noting whether your backflow preventer passed or if repairs are needed. They’ll also inform you when your next test is due, helping you stay ahead of compliance requirements while protecting your household’s water quality.
What Homeowners Need to Know About Testing Compliance
Understanding your responsibilities as a homeowner helps protect your water supply and keeps you in compliance with local regulations. Most municipalities require annual backflow testing, though some jurisdictions mandate testing twice yearly for certain property types. The testing must be performed by a state-certified backflow prevention tester who has completed specialized training and holds current credentials.
During a typical test, which usually takes 20 to 45 minutes, the technician will inspect your backflow preventer, shut off water flow temporarily, and use specialized gauges to measure pressure differentials across the valve. They’ll check each component’s functionality and ensure all parts meet safety standards. You’ll receive a detailed report documenting the test results, and the tester typically files compliance paperwork directly with your water utility.
Testing costs generally range from 75 to 150 dollars per valve, depending on your location, valve type, and property accessibility. Some water utilities maintain lists of certified testers, or you can search your state’s certification database online. When selecting a tester, verify their credentials are current and ask about their experience with your specific valve type.
Maintaining proper documentation is essential for demonstrating compliance with local backflow requirements. Keep all test reports for at least five years, as they may be requested during property transactions or municipal audits. Many certified testers now offer digital record-keeping and automatic testing reminders, making compliance easier to track.
If your valve fails testing, repairs must be completed promptly by a licensed plumber, followed by retesting to verify proper operation. This proactive approach not only protects your family’s drinking water but also contributes to broader community water safety, an important aspect of sustainable living.
Understanding these five valve backflow test procedures empowers you to take an active role in protecting your home’s water supply. Regular backflow testing isn’t just about meeting municipal requirements—it’s a fundamental safeguard that prevents contaminated water from entering your clean water lines. By staying compliant with your local testing schedule, typically required annually, you’re contributing to a larger community effort to maintain safe, clean water for everyone.
These tests represent a critical intersection of household maintenance and environmental responsibility. When backflow preventers fail, the consequences extend beyond individual homes, potentially affecting neighborhood water systems and local ecosystems. Think of compliance as part of your commitment to sustainable living and drinking water protection.
Schedule your next backflow test with a certified professional, keep records of all inspections, and address any failures immediately. Your proactive approach to water safety doesn’t just protect your family—it demonstrates environmental stewardship and helps preserve our most precious resource. Clean water starts at home, and backflow prevention is your first line of defense in maintaining that quality standard.