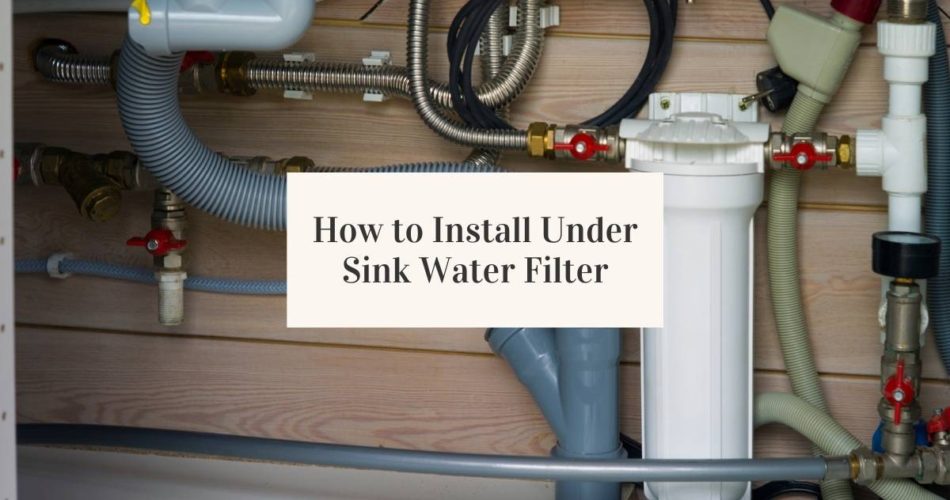
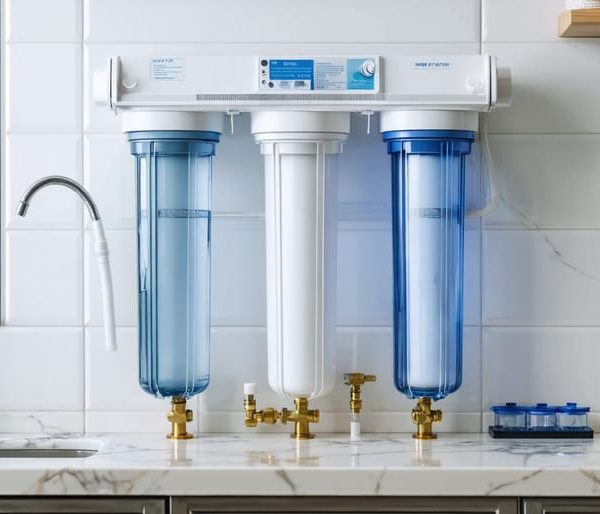
Installing an under sink water filter involves plumbing works to connect the filter kit to a sink faucet and the water supply. You can install the filter to a new faucet that will separately give you clean drinking water or to an existing faucet in the kitchen. You can undertake this as a DIY project. All you need are some unsophisticated tools like a wrench and a drill.
Steps to Install an Under Sink Water Filter System
Unlike the installation process of a whole-house filtration system, the installation of under sink filters is quite straightforward. Two factors to consider to install an under sink filter:
- Some experience in house plumbing works
- Availability of the required plumbing materials
Tools and Materials
- Drill
- Adapter
- Adjustable wrench
- Screwdriver
- Teflon tape
- underwater filter kit
1. Shutoff the Cold Water Supply
Before starting, shut off the water supp at the cold water shutoff. There should be a shut off valve under the sink. You can archive this by making lose the nuts and taking the tubing from the valve fitting. This action disconnects the shut off valve and the cold water line.
You can use the adjustable wrench to free the nuts that hold the tubing on the faucet. You can now easily remove the tubing. Some water may still remain in the water supply line. Drain this water out by opening the faucets. It is important to ensure this happens to avoid water spilling all over your kitchen.
2. Marking the Location
Marking where you will fix the under sink water filter relative to the cold water pipe is a critical step. Two important things to note when doing this activity:
- Enough space below the water filtration system for servicing. The space should allow you to remove the under sink water filter housing and replace the cartridges.
- In case you need to install a new water filter faucet, note the positioning of the water filter. You also need to check the location of the faucet on your sink.
Most water filter kits will be shipped with a mounting bracket. You can mark the spots you will mount the water filter through the holes on the mounting bracket. Drive your screws about halfway where you made the marks.
3. Making the Connections
The best option to connect the under sink water filter and the pipes is a flexible supply line called a “flex line.” They are made from stainless steel. Most filter kits have plastic tubing, which is not ideal for this type of connection.
The flexible lines are much sturdier and thread easily onto the brass fitting compared to the plastic ones. On the filter head, use Teflon tape to thread the brass fittings. The tape is meant to provide a reliable seal. You can use the wrench to tighten the connection.
With the brass fitting in place, connect the flex lines onto the “inlet” and “outlet ports on the filter.
Making a Hole in the Sink
This step is dependent on the need for a new faucet to dispense filtered water. A typical hole measures 1 1/4 inches.
Make the hole using the drill. The diamond-tipped hole saw method is useful for granite and ceramic countertop sinks. For a steel sink, you could utilize a carbide-tipped blade. Watch out for overheating.
Separate the Water Line to the Kitchen Sink
This is dependent on if you are installing a new faucet on the sink. The main aim is to have two separate lines running to your kitchen sink. You will need a splitter that will split the cold water pipe from the one running to the new water filter faucet.
Take the plastic tubing that we disconnected earlier after shutting off the valves. Attach the splitter. If the splitter does not fit, you will need an adapter to adjust the fitting size up or down. Some kits come with their own adapter. Otherwise, you can get them from local hardware stores.
Fixing the Filter
Fixing the filter involves connecting the filter’s two valves to the tap water and to the faucet. Once done, fasten the screws that were halfway done. The mounting bracket secures the filter to the underwater sink.
Install the New Faucet
Attach a hose to the water filter, long enough to connect to the new faucet at the kitchen sink. The hole you made in the sink is utilized at this point.
Insert the faucet into the hole. You then need to fasten the hose to the bottom of the faucet. For proper attachment of the faucet to the sink, apply putty. It helps hold the faucet in place while preventing leaks.
4. Turn the Water Back on
Confirm all connections and fittings are secure. First, you need to leave the faucet open. Allow the water to flow through the shut-off valve by turning it. There might be an air release when you turn the water back on.
5. Checking the House Plumbing Connections
The project is complete by checking the entire connection settings. Check each valve, and every adapter to ensure it is correctly installed. Open the water supply and let it run through the system for several minutes to clear any dirt left. Check under the sink to ensure that the system is not leaking.

Final Thoughts
Under-sink water filters are a great way to purify drinking water. Unlike the process of installing a whole-house water filter on a well, it is much easier to install the system by yourself.
Time taken for the whole installation should be around 1 hr.


