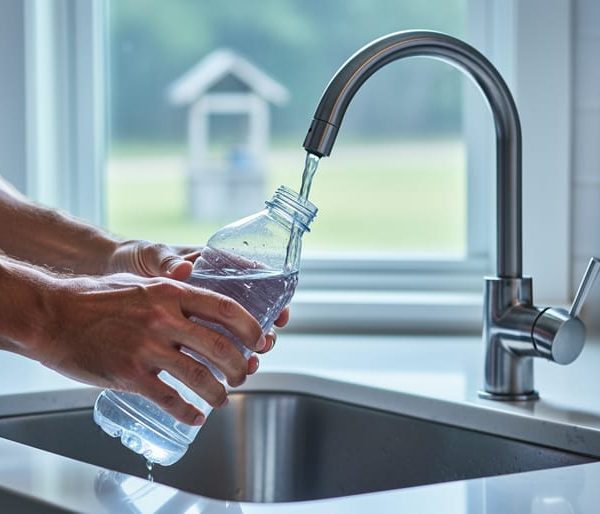
Testing your pool water isn’t rocket science – but getting it wrong can turn your backyard oasis into a murky mess. Perfect pool chemistry starts with accurate testing, protecting both your investment and your family’s health. In just 15 minutes a week, you can master the basics of pool water testing using simple tools and straightforward techniques that even complete beginners can handle.
This no-nonsense guide breaks down pool testing into bite-sized steps, helping you understand exactly what to measure, how to get reliable readings, and what those numbers actually mean for your pool’s health. Whether you’re a first-time pool owner or simply want to double-check your maintenance routine, you’ll learn how to test with confidence and keep your pool crystal clear year-round.
Skip the confusion and costly mistakes – let’s dive into the essential steps of pool water testing that every pool owner needs to know.
Essential Pool Testing Equipment You Need
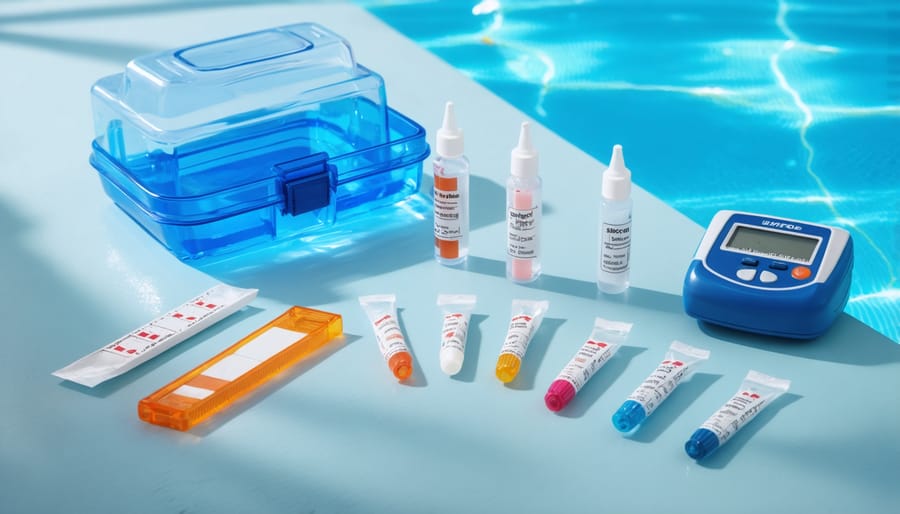
Test Strips vs. Testing Kits
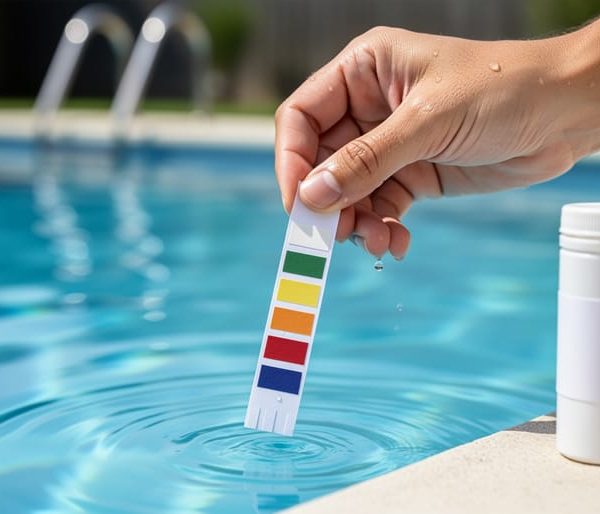
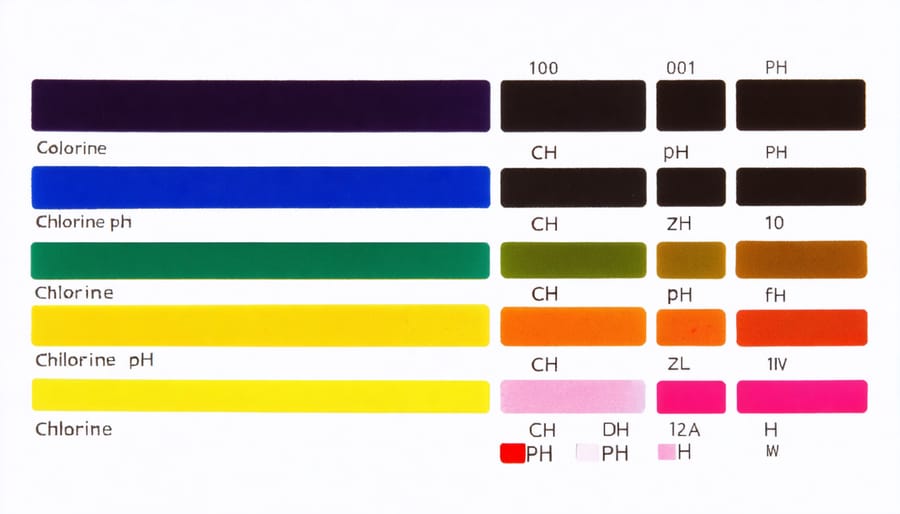
When it comes to testing your pool water, you’ll typically choose between two main options: test strips or testing kits. Test strips are the quick and convenient choice – simply dip the strip in your pool water and compare the colors to the chart. While they’re budget-friendly and easy to use, they can be less accurate and may deteriorate if not stored properly.
On the other hand, best pool water testing kits offer more precise results through liquid reagents or tablets. These kits typically include a color comparator block or digital reader, providing detailed measurements of various chemical levels. While they require more time and attention to detail, they deliver professional-grade accuracy that helps maintain optimal water chemistry.
For casual pool owners, test strips might suffice for routine monitoring. However, if you’re serious about maintaining perfect water balance or have a salt water pool, investing in a testing kit is worthwhile. Many pool experts recommend using both: test strips for quick daily checks and a testing kit for weekly comprehensive analysis.
Remember to check the expiration dates on both strips and reagents, as their accuracy diminishes over time. Store your testing supplies in a cool, dry place away from direct sunlight to maintain their effectiveness.
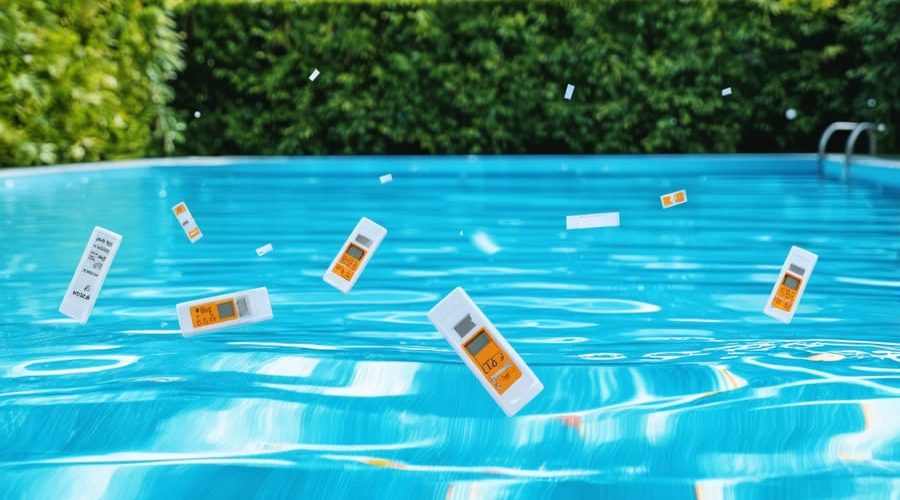
Digital Testers: Worth the Investment?
Digital testing equipment has revolutionized pool maintenance, making it easier than ever to monitor water quality. While traditional home water testing solutions remain reliable, modern digital water testing meters offer instant readings and eliminate the guesswork of color matching. These devices typically cost between $50-200 but can save money long-term by preventing chemical waste and maintaining optimal water balance. Key benefits include smartphone connectivity, data tracking, and precise measurements of multiple parameters simultaneously. For eco-conscious pool owners, digital testers help prevent chemical overdosing and reduce environmental impact. While the initial investment may seem steep, the accuracy and convenience make these tools worthwhile for regular pool maintenance.
Key Water Parameters to Test
pH and Chlorine Levels
Testing pH and chlorine levels is the foundation of proper pool maintenance. These two measurements work together to keep your pool safe and clean. For accurate results, always test your water at least twice a week during swimming season, preferably at the same time each day.
To test pH levels, collect a water sample from about 18 inches below the surface, away from return jets. Fill your test kit’s tube to the marked line and add the prescribed number of pH reagent drops. Compare the color to your test kit’s chart – ideal pH levels should be between 7.2 and 7.8. If your reading is below 7.2, your water is acidic and needs pH increaser. Above 7.8 means it’s too alkaline, requiring pH decreaser.
For chlorine testing, you’ll measure both free chlorine (FC) and total chlorine (TC). Free chlorine is the amount available to sanitize your pool, while total chlorine includes both free and combined chlorine. Using your test kit, add the appropriate chlorine reagent to a fresh water sample. The ideal free chlorine level is between 1-3 parts per million (ppm).
If your total chlorine reading is significantly higher than your free chlorine level, this indicates high combined chlorine (chloramines), which can cause eye irritation and that typical “pool smell.” In this case, you’ll need to shock your pool to break down the chloramines.
Remember to wait at least 4 hours after adding any chemicals before retesting, and always test before adding new chemicals to avoid over-correction. Keep a log of your readings to track trends and maintain consistent water quality.
Alkalinity and Stabilizer Levels
Testing your pool’s alkalinity and stabilizer levels is crucial for maintaining balanced, healthy water. Let’s start with total alkalinity (TA), which acts as a buffer against rapid pH changes. To test alkalinity, use a test strip or liquid test kit and submerge it in pool water away from return jets. Wait for the color to develop and compare it to the chart. Ideal alkalinity levels should be between 80-120 parts per million (ppm).
If your alkalinity is too low, your pool water becomes corrosive and can damage pool surfaces and equipment. High alkalinity leads to scaling and cloudy water. Adjust levels using sodium bicarbonate to raise alkalinity or muriatic acid to lower it.
Next, test for cyanuric acid (CYA), also known as stabilizer. This chemical protects chlorine from sun degradation, helping it work more effectively. Use a specific CYA test kit, which typically involves filling a vial with pool water until a black dot disappears from view. The optimal CYA level is 30-80 ppm for outdoor pools.
Too little stabilizer means your chlorine will quickly dissipate in sunlight, while too much can lead to “chlorine lock,” where chlorine becomes less effective. Indoor pools need minimal to no stabilizer since they’re not exposed to UV rays.
Test both alkalinity and stabilizer levels weekly during peak swimming season. Keep a log of your readings to track trends and make informed adjustments. Remember that these levels change more slowly than chlorine or pH, so avoid making dramatic corrections all at once.
Step-by-Step Testing Process
When and Where to Test
For accurate results, test your pool water at least 2-3 times per week during the swimming season and once weekly during off-peak months. The best time to collect samples is in the morning, at least two hours after the pool pump has been running and before any swimmers enter the water.
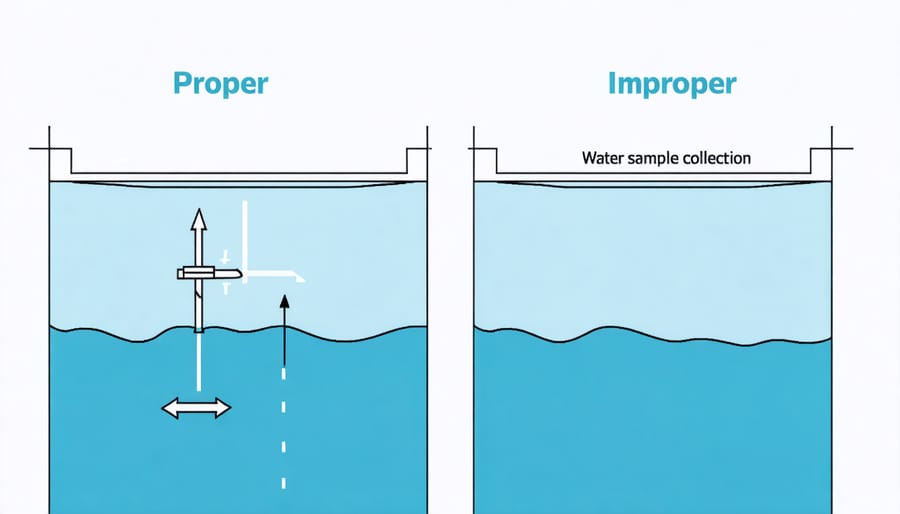
Always collect water samples from elbow-depth (about 18 inches below the surface) and away from return jets and skimmers. This middle depth provides the most representative sample of your pool’s overall water condition. Use a clean testing container and submerge it upside down to about elbow depth, then turn it right side up to collect the sample.
Key testing moments include:
– After heavy rainfall or storms
– When you notice changes in water clarity
– Before and after heavy pool usage
– Following the addition of new chemicals
– During extreme temperature changes
For seasonal pools, perform a comprehensive test when opening and closing the pool. If you’re using test strips, store them in a cool, dry place and check their expiration dates regularly to ensure accuracy. Remember that testing more frequently helps you catch potential issues early, saving time and money on corrective measures.
Reading and Recording Results
Once you’ve collected your water samples and performed the tests, accurate interpretation is crucial for maintaining a healthy pool. Start by reading the test results immediately after completing each test, as some readings can change if left to sit. Hold your test strip or comparator up against a white background in natural daylight for the most accurate color matching.
Record your findings in a dedicated pool maintenance log, noting the date, time, and specific readings for each parameter tested. Key measurements to track include pH (ideal range 7.2-7.6), chlorine (1-3 ppm), alkalinity (80-120 ppm), and stabilizer levels (30-80 ppm). Many pool owners find it helpful to use a smartphone app or simple spreadsheet to maintain these records.
Watch for patterns in your readings over time. Consistent recording helps you spot trends and potential problems before they become serious issues. For example, if you notice your pH levels steadily climbing week after week, you can take corrective action early rather than waiting for the water to become obviously unbalanced.
When your test results fall outside the ideal ranges, consult your pool chemical guide for the appropriate adjustments. Don’t make multiple chemical corrections at once – adjust one parameter at a time and retest after 24 hours. This methodical approach prevents overcorrection and helps maintain stable water chemistry.
Remember to keep your test kit reagents fresh and properly stored. Expired or improperly stored testing materials can give false readings, leading to incorrect chemical adjustments. Replace your testing supplies annually or as recommended by the manufacturer to ensure accurate results.
Common Testing Mistakes to Avoid
Testing your pool water might seem straightforward, but even experienced pool owners can make mistakes that affect their results. Let’s look at some common testing errors and how to avoid them.
One of the most frequent mistakes is using expired test strips or reagents. Always check the expiration dates on your testing supplies and store them properly in a cool, dry place away from direct sunlight. Old testing materials can give inaccurate readings, leading to improper chemical adjustments.
Another common error is testing too soon after adding chemicals. Wait at least 4-6 hours after chemical treatments before testing your water. This gives the chemicals time to circulate and provide accurate readings. For best results, test your pool water at the same time each day, preferably in the morning before heavy swim use.
Many pool owners make the mistake of collecting water samples too close to the surface or near return jets. Instead, submerge your testing container elbow-deep (12-18 inches) into the pool, away from skimmers and returns, to get a representative sample of the pool’s water chemistry.
Don’t forget to rinse your testing containers between uses. Residual chemicals from previous tests can contaminate new samples and skew results. Also, avoid touching test strips with wet or sweaty hands, as this can affect their accuracy.
Rushing through the testing process is another pitfall. Take time to read instructions carefully, follow proper timing for color development, and compare results in natural daylight rather than artificial lighting. Remember, accurate testing leads to proper chemical balance, which means safer, cleaner swimming water for everyone.
Regular pool water testing is your key to maintaining a safe and enjoyable swimming environment. By checking your water chemistry weekly and after major weather events, you’ll prevent common issues like algae growth and skin irritation. Remember to test for chlorine, pH, alkalinity, and stabilizer levels using reliable test strips or kits. Keep a log of your readings to track patterns and make informed adjustments. Proper pool maintenance not only protects your family’s health but also extends the life of your pool equipment and reduces chemical waste. With these simple testing habits, you’ll save money on repairs while ensuring crystal-clear water all season long. Make testing part of your routine, and you’ll spend less time troubleshooting and more time swimming in your perfectly balanced pool.