Check your faucet aerator first—unscrew the small screen at your tap’s end, rinse away mineral buildup under warm water, and reattach it. This simple five-minute fix resolves most low-pressure issues caused by sediment accumulation. If pressure remains weak throughout your home, locate your main water valve (typically near the water meter) and ensure it’s fully open by turning counterclockwise. Partially closed valves often occur after plumbing work or maintenance.
Test individual fixtures to determine if the problem affects your entire house or specific areas. Single-fixture issues point to localized clogs in that tap or showerhead, while whole-house problems suggest issues with your pressure regulator, main supply line, or hidden leaks. Inspect visible pipes for corrosion, especially in older homes where mineral deposits narrow pipe interiors and restrict water flow.
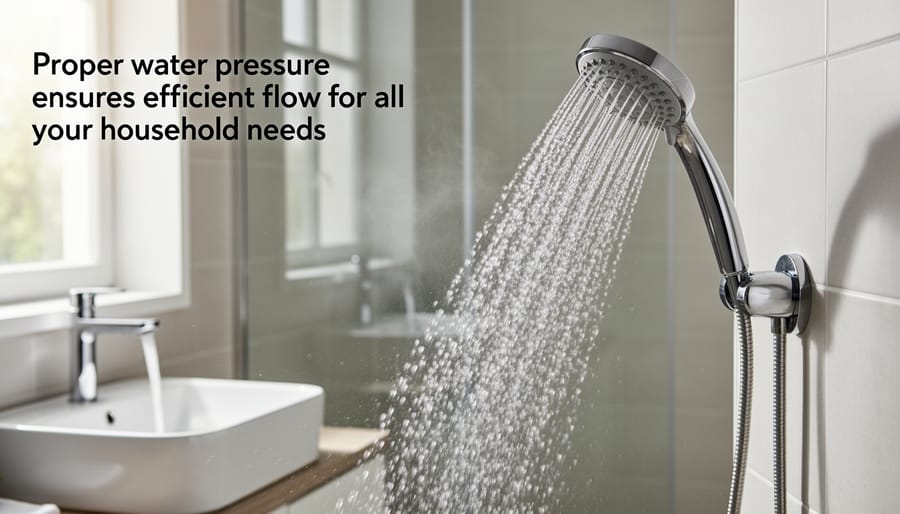
Replace clogged showerheads by soaking them in equal parts white vinegar and water overnight to dissolve lime scale—an eco-friendly solution that restores flow without harsh chemicals. For persistent whole-house pressure problems, your pressure regulator may need adjustment or replacement, though this typically requires professional assessment to avoid damaging your plumbing system or creating dangerously high pressure that wastes water and shortens appliance lifespan.
What’s Really Causing Your Low Water Pressure
Mineral Deposits and Sediment Buildup
Over time, mineral deposits from hard water and sediment buildup can significantly reduce water pressure throughout your home. Hard water contains dissolved minerals like calcium and magnesium that gradually accumulate inside pipes, faucets, and showerheads, creating a crusty layer that narrows the passageway for water flow. Think of it like cholesterol building up in arteries. This process happens slowly, so you might not notice the pressure drop until it becomes significant. Sediment from aging pipes or municipal water systems also contributes to the problem, settling in aerators and valve openings. The good news is that many of these blockages can be cleared with simple cleaning methods, restoring your water pressure while extending the life of your plumbing fixtures and reducing water waste from inefficient flow.
Clogged Aerators and Fixtures
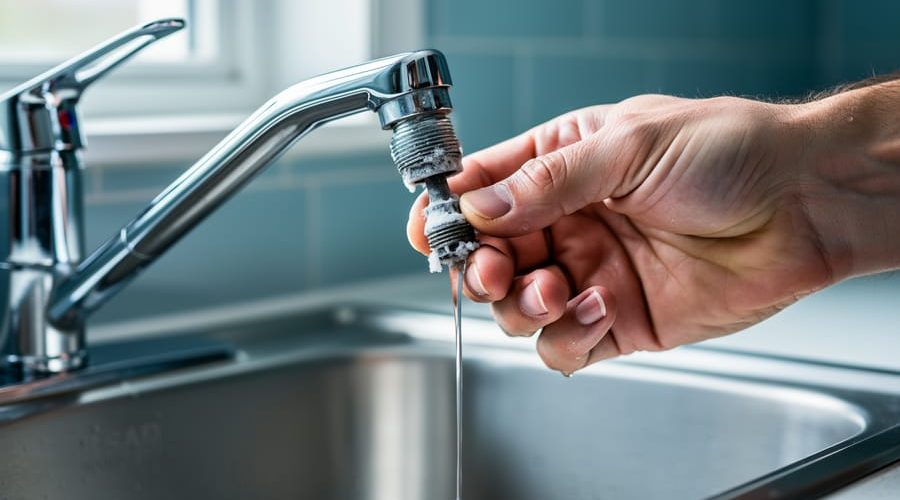
Before calling a plumber, check your tap aerators—the small screens screwed onto faucet tips. These inexpensive fixtures mix air with water to reduce flow while maintaining pressure, but they trap mineral deposits, rust, and sediment over time. This buildup blocks water flow and creates frustratingly weak streams. Simply unscrew the aerator by hand or with pliers wrapped in cloth to prevent scratching. Rinse debris under running water and soak stubborn deposits in white vinegar for 30 minutes. This quick five-minute fix restores pressure in most cases and saves water by keeping aerators functioning properly. Replace corroded aerators with low-flow models that maintain strong pressure while reducing consumption.
Faulty Pressure Regulators
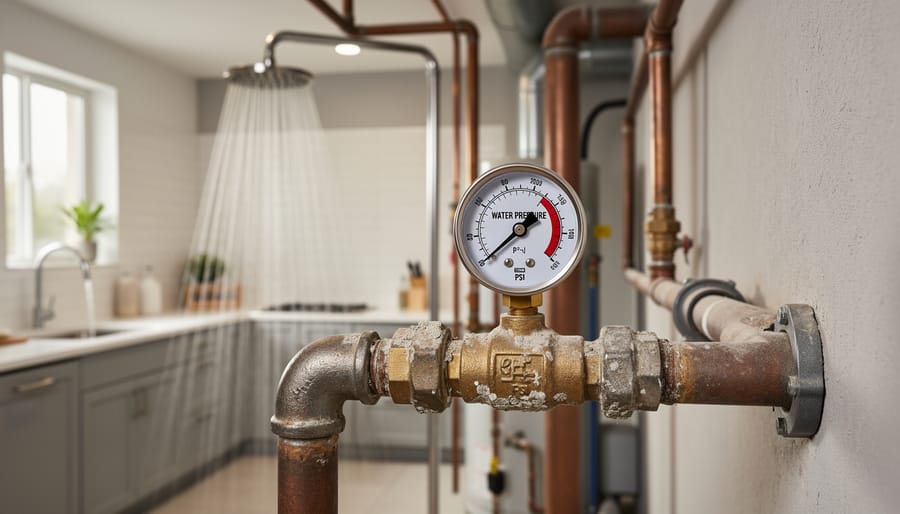
Your pressure regulator acts as a gatekeeper, reducing the high water pressure from municipal lines to a safer level for your home’s plumbing—typically between 45-60 psi. When this device fails, you’ll notice weak water flow throughout your entire house, not just at one fixture. Common signs of malfunction include sudden pressure drops, fluctuating flow when multiple taps run simultaneously, or reading below 40 psi on a pressure gauge attached to an outdoor spigot. These regulators typically last 10-15 years but can fail earlier due to sediment buildup or internal wear. Testing is straightforward: attach a pressure gauge to check if readings fall within normal range. If your regulator is faulty, replacement usually requires a plumber, but catching this issue early prevents pipe stress and reduces water waste from inefficient fixtures.
Supply Line Problems
Sometimes the problem isn’t inside your home at all. Municipal water supply issues can affect entire neighborhoods, causing temporary pressure drops during peak usage hours or maintenance work. Contact your local water utility to check if there are known issues in your area. On your property, examine the main shut-off valve near your water meter—it should be fully open. Partially closed valves are a common culprit for whole-house pressure problems. Also inspect the pressure regulator if your home has one. This device protects your plumbing from excessive pressure but can fail over time, restricting flow. If you notice corrosion or your home was built before 1986, aging galvanized pipes in your service line may be gradually narrowing from mineral buildup, reducing water flow throughout your house while simultaneously affecting water quality.
Quick Checks Before You Start Any Repairs
Before diving into repairs, spend a few minutes pinpointing where the low water pressure problem actually exists. This detective work will save you time and help you avoid unnecessary fixes.
Start by testing multiple fixtures throughout your home. Turn on several taps, including bathroom sinks, kitchen faucets, and showers. If only one fixture has weak flow, you’ve found a localized issue—likely a clogged aerator or a problem with that specific tap. However, if every fixture in your house shows reduced pressure, you’re dealing with a whole-house situation that requires a different approach.
Next, determine whether the issue affects both hot and cold water or just one. Run each temperature separately at your affected fixtures. If only hot water pressure is low, your water heater might be the culprit rather than your main water supply. This distinction is crucial for targeting your repair efforts effectively.
Now it’s time to look beyond your property line. Chat with a few neighbors to see if they’re experiencing similar pressure drops. This simple conversation can reveal whether your municipal water supply is experiencing issues, saving you from unnecessary troubleshooting. If neighbors report the same problem, contact your local water utility—they may already be working on repairs or can alert you to scheduled maintenance.
Also check if the low pressure occurs at specific times of day. Morning and evening peak usage hours sometimes create temporary pressure dips in neighborhoods with aging infrastructure. If pressure returns to normal during off-peak hours, the issue may be with your community’s water system rather than your home’s plumbing.
These quick checks take just minutes but provide valuable information that guides your next steps, whether that’s a simple DIY fix or calling a professional plumber.
DIY Fixes You Can Do Right Now
Clean Your Tap Aerators (5-Minute Fix)
Clogged aerators are one of the most common culprits behind low water pressure, and the good news is that cleaning them takes just five minutes. These small mesh screens at the tip of your faucet trap sediment and mineral deposits over time, restricting water flow.
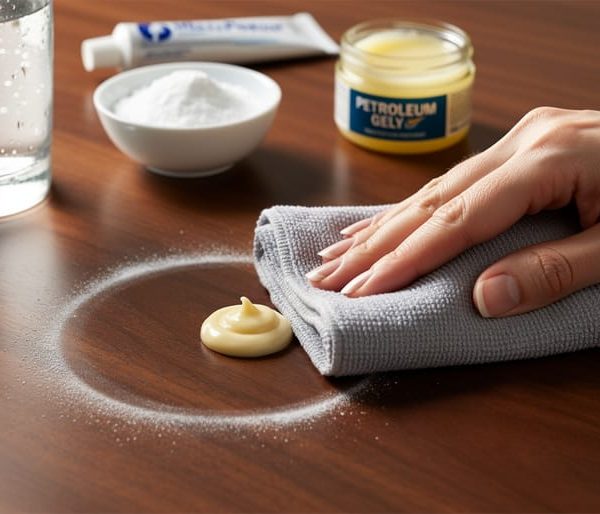
Start by gathering your supplies: an adjustable wrench or pliers, a small bowl, white vinegar, and an old toothbrush. First, protect your faucet’s finish by wrapping the aerator with a cloth before using your wrench to unscrew it counterclockwise. If it’s stuck, a few drops of penetrating oil can help loosen mineral buildup.
Once removed, disassemble the aerator carefully, noting the order of its components. You’ll typically find several small screens and rubber washers. Rinse the pieces under running water to remove loose debris, then soak them in white vinegar for 15-30 minutes. This eco-friendly solution dissolves mineral deposits without harsh chemicals that could contaminate your water supply.
After soaking, scrub the screens gently with the toothbrush, paying attention to any remaining buildup. Rinse thoroughly with clean water, reassemble the parts in their original order, and hand-tighten the aerator back onto your faucet. Turn on the tap to check your improved water pressure and celebrate this simple sustainable fix.
Flush Your Water Heater
If you notice low water pressure only affects your hot water, sediment buildup in your water heater is likely the culprit. Over time, minerals from hard water settle at the bottom of your tank, reducing capacity and restricting water flow. Fortunately, flushing your water heater is a straightforward maintenance task that can restore pressure and improve energy efficiency.
Start by turning off the power supply to your water heater. For electric units, switch off the circuit breaker; for gas models, turn the thermostat to pilot mode. Next, shut off the cold water supply valve at the top of the tank and attach a garden hose to the drain valve near the bottom. Run the hose to a floor drain or outside area where hot water can safely discharge.
Open the drain valve and a hot water faucet somewhere in your home to allow air into the system. Let the tank drain completely, flushing out sediment. Once clear water flows, close the drain valve, remove the hose, and turn the water supply back on. After the tank refills, restore power and wait 30 minutes before using hot water. This eco-friendly maintenance task, performed annually, extends your water heater’s lifespan while maintaining optimal pressure.
Check and Replace Fixture Shutoff Valves
Every sink, toilet, and fixture in your home has its own shutoff valve—those small knobs or levers underneath or behind them. These valves control water flow to individual fixtures, and when they’re not fully open or have become worn, they can significantly reduce water pressure at that specific location.
Start by locating the shutoff valves under your sink or behind your toilet. You’ll typically find two valves: one for hot water and one for cold. Turn each valve counterclockwise to ensure it’s completely open. Sometimes these valves get accidentally bumped or aren’t fully reopened after plumbing work, leaving them partially closed and restricting water flow.
While you’re checking, inspect the valves for signs of corrosion, mineral buildup, or leaking. Old shutoff valves, particularly in homes with hard water, can develop internal deposits that block water passage even when fully open. If a valve feels stiff, corroded, or continues causing low pressure after being opened completely, it likely needs replacement.
Replacing a fixture shutoff valve is a straightforward DIY project that can restore proper flow while also giving you an opportunity to upgrade to more water-efficient fixtures, reducing household water waste without sacrificing performance.
Inspect Your Main Water Valve
Your main water valve controls the entire water supply entering your home, and if it’s partially closed, you’ll experience reduced pressure throughout. This valve is typically located where the main water line enters your house—check near your water meter, in the basement, crawl space, or garage. It may also be outside near the foundation.
The valve usually looks like a wheel (gate valve) or a lever (ball valve). For wheel-style valves, turn it counterclockwise as far as it will go to ensure it’s completely open. Ball valves should be parallel to the pipe when fully open. Sometimes after plumbing repairs or routine maintenance, these valves aren’t reopened all the way, which restricts water flow.
If you discover your valve was partially closed, opening it fully should restore normal pressure immediately—a simple fix that saves water waste and unnecessary troubleshooting. This is particularly important for eco-conscious homeowners, as restricted flow can cause fixtures to run longer than necessary, increasing overall water consumption without you realizing it.
When Hard Water Is the Hidden Culprit
If you’ve noticed your water pressure gradually declining over months or years, hard water might be the underlying cause. Hard water contains high levels of minerals like calcium and magnesium that, while safe to drink, create stubborn deposits inside your plumbing system. These mineral buildups act like cholesterol in arteries, slowly narrowing pipes and restricting water flow throughout your home.
The problem often goes unnoticed until pressure drops significantly. You might see white, chalky residue on faucets and showerheads—visible signs of the same buildup happening inside your pipes. Water heaters are particularly vulnerable, as minerals settle at the bottom and reduce efficiency. If you’ve never addressed this, it’s time to flush your water heater to remove sediment that could be affecting both pressure and performance.
For a sustainable long-term solution, consider installing a water softener system. These innovative devices use ion exchange technology to remove hardness-causing minerals before they enter your plumbing. Modern water softeners are surprisingly eco-friendly, with salt-free alternatives available that use template-assisted crystallization to prevent mineral adhesion without chemicals or wastewater.
Whole-house filtration systems offer another approach, protecting your pipes while improving overall water quality. These systems catch mineral particles before they can accumulate, extending your plumbing’s lifespan and maintaining consistent pressure. Many homeowners find that combining filtration with periodic pipe maintenance creates the most effective defense against hard water damage.
The investment in water conditioning pays dividends beyond pressure restoration. You’ll use less soap and detergent, reduce energy costs from more efficient water heating, and avoid expensive pipe replacements down the road. For environmentally-conscious households, preventing mineral buildup means less frequent plumbing interventions and reduced waste from replacing corroded fixtures. Testing your water hardness is an inexpensive first step that helps you choose the right solution for your home’s specific needs.
Fixing Pressure Regulator Issues
Your home’s pressure regulator is a bell-shaped device typically located where the main water line enters your house, often near the water meter or in your basement. This vital component controls the incoming water pressure from your municipal supply, reducing it to a safe level for your household plumbing.
To test if your regulator is functioning properly, you’ll need a pressure gauge that attaches to an outdoor spigot or washing machine hookup. The ideal household water pressure ranges between 45 and 60 PSI (pounds per square inch). Readings below 40 PSI indicate low pressure, while anything above 80 PSI can damage your pipes and appliances. Take readings at different times of day to get an accurate picture.
If your pressure is consistently low and you’ve ruled out other causes like clogged aerators or pipe issues, the regulator may need adjustment. Most regulators have an adjustment screw on top. Turning it clockwise increases pressure, while counterclockwise decreases it. Make small quarter-turn adjustments and retest between changes.
However, if the regulator is old, corroded, or damaged by mineral-rich water, replacement becomes necessary. Signs include inconsistent pressure, visible corrosion, or no response to adjustments.
While adjusting a pressure regulator is a manageable DIY task for handy homeowners, replacement usually requires professional help. Working with the main water line involves shutting off your home’s water supply and potentially dealing with local building codes and permits. A licensed plumber can ensure proper installation and verify your system meets safety standards, typically completing the job in one to two hours. This investment protects your entire plumbing system and ensures optimal water efficiency throughout your home.
When to Call a Professional
While many low water pressure issues can be resolved with DIY solutions, certain situations require professional expertise to avoid causing more damage or wasting your investment in the wrong fix.
If you’ve checked your fixtures, cleaned aerators, and verified your shut-off valves are fully open but still experience widespread low pressure throughout your home, it’s time to call a plumber. This typically indicates problems within your main supply line or hidden leaks that require specialized detection equipment.
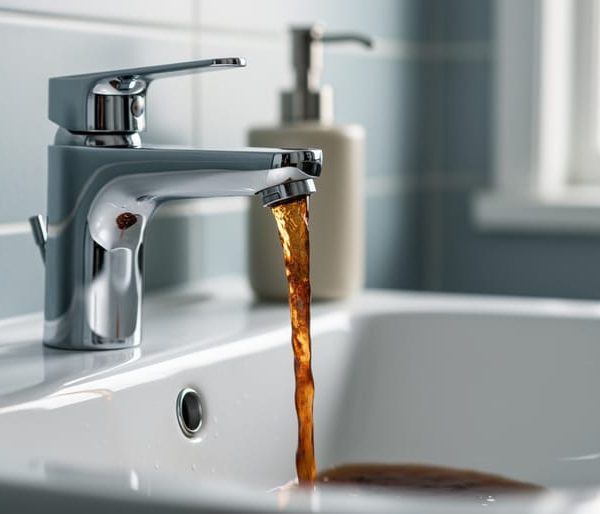
Corroded or deteriorating pipes are beyond DIY repair. If your home was built before 1960 and you notice discolored water alongside low pressure, your galvanized steel pipes may be internally rusted. Professionals can assess whether partial replacement or full repiping is necessary—an investment that improves both pressure and water quality while preventing future contamination issues.
Main line leaks between the municipal connection and your home require immediate professional attention. Signs include unexplained water pooling in your yard, unusually high water bills, or the sound of running water when all fixtures are off. These leaks waste precious water resources and can cause significant property damage.
If your pressure regulator fails or needs adjustment beyond the homeowner-accessible screw, hire a licensed plumber. Incorrect settings can damage appliances and plumbing fixtures.
Finally, if your entire neighborhood experiences low pressure, contact your water utility company. Municipal supply issues, water main breaks, or planned maintenance may be affecting service. They can also test whether your pressure meets minimum standards, typically 40-45 PSI, and address infrastructure problems at their source.
Preventing Low Water Pressure in the Future
Maintaining optimal water pressure doesn’t require constant vigilance, but a few proactive habits can save you from future headaches and plumber bills. Think of it as preventive care for your home’s circulatory system.
Start with a simple cleaning schedule for your faucet aerators and showerheads. Every three to six months, unscrew these fixtures and soak them in white vinegar overnight to dissolve mineral buildup. This ten-minute task prevents the gradual pressure loss that sneaks up on most households. If you live in an area with hard water, consider doing this quarterly.
Installing a whole-house water filtration system offers both immediate and long-term benefits. Beyond improving water taste and protecting your family from contaminants, these systems catch sediment before it reaches your fixtures and pipes. This means less mineral accumulation in your plumbing and appliances, extending their lifespan while maintaining consistent water pressure. Modern filtration systems are increasingly eco-friendly, reducing reliance on bottled water while protecting your infrastructure.
Regular water quality monitoring helps you catch problems early. Annual testing for mineral content, sediment levels, and pH balance gives you a baseline to work with. If you notice changes, you can address them before they affect your pressure or cause main line leaks.
Consider installing pressure gauges at key points in your plumbing system. These inexpensive devices let you spot pressure drops quickly, often before you notice them at the tap. Many smart home systems now include water monitoring technology that alerts you to unusual pressure changes or potential leaks.
Finally, insulate exposed pipes in winter. Freezing and thawing cycles can damage pipes and reduce pressure over time, making this simple winterization step an important prevention strategy.
You now have the knowledge and tools to tackle most low water pressure issues in your home. By working through these solutions systematically—from simple aerator cleaning to checking pressure regulators and inspecting for leaks—you can restore your water flow without necessarily calling a plumber. Remember that many fixes require just basic tools and a little patience.
Taking a proactive approach to your water system pays dividends beyond convenience. Regular maintenance, including water heater maintenance and periodic leak checks, prevents small problems from becoming costly repairs. Even more importantly, fixing leaks and inefficiencies conserves precious water resources—a single dripping faucet can waste thousands of gallons annually.
By addressing low water pressure promptly, you’re not just improving your daily comfort; you’re reducing water waste, lowering utility bills, and contributing to environmental sustainability. Make it a habit to inspect your fixtures quarterly, watch for warning signs like reduced flow or unusual sounds, and address issues early. Your home’s water system will perform better, last longer, and support your eco-conscious lifestyle while saving you money in the process.