**UV Disinfection Systems: Your Complete Installation and Care Guide**
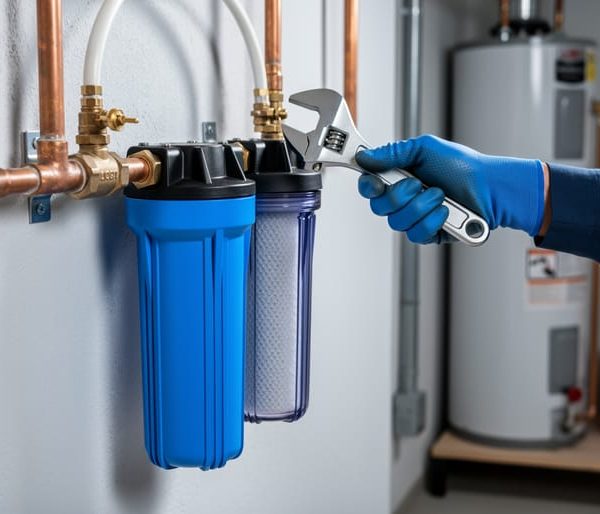
Shut off your home’s water supply and identify the ideal installation point downstream from your filter but before any water branches to faucets—this positioning ensures maximum protection against bacteria, viruses, and parasites while your UV system delivers chemical-free disinfection for your entire household.
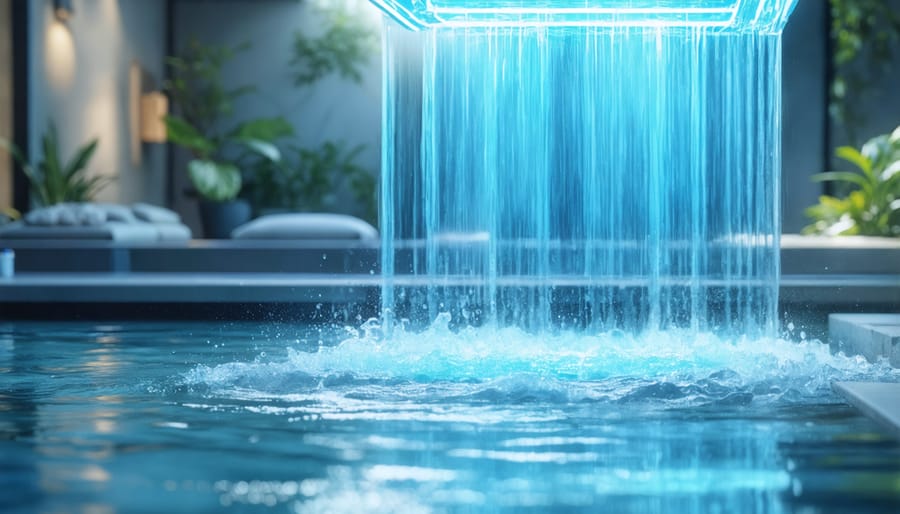
Understanding how UV light destroys 99.9% of harmful microorganisms by disrupting their DNA gives you confidence in this eco-friendly technology that’s revolutionizing home water safety without adding chemicals or altering taste. UV disinfection systems work continuously, passing water through a chamber where ultraviolet light neutralizes contaminants in seconds, making them particularly valuable for homes using well water or dealing with recurring waterborne pathogens.
Proper installation requires electrical access near your water line, adequate space for the UV chamber (typically 24-36 inches), and pre-filtration to remove sediment that blocks UV rays—prerequisites that determine whether you’ll tackle this as a DIY project or call a professional. The system’s simplicity means fewer moving parts and straightforward maintenance, primarily focused on annual bulb replacement and periodic quartz sleeve cleaning.
Your investment protects your family’s health while eliminating ongoing costs of bottled water and chemical treatments. This guide walks you through each installation step, establishes realistic maintenance schedules, addresses common troubleshooting scenarios, and provides transparent cost breakdowns so you can maintain your system confidently and ensure it delivers reliable, sustainable water purification for years ahead.
How UV Disinfection Systems Actually Work
UV disinfection systems harness the power of ultraviolet light to purify water without adding any chemicals to your home’s supply. At the heart of these systems is UV-C light—a specific wavelength of ultraviolet radiation (typically 254 nanometers) that’s invisible to the human eye but incredibly effective at neutralizing harmful microorganisms.
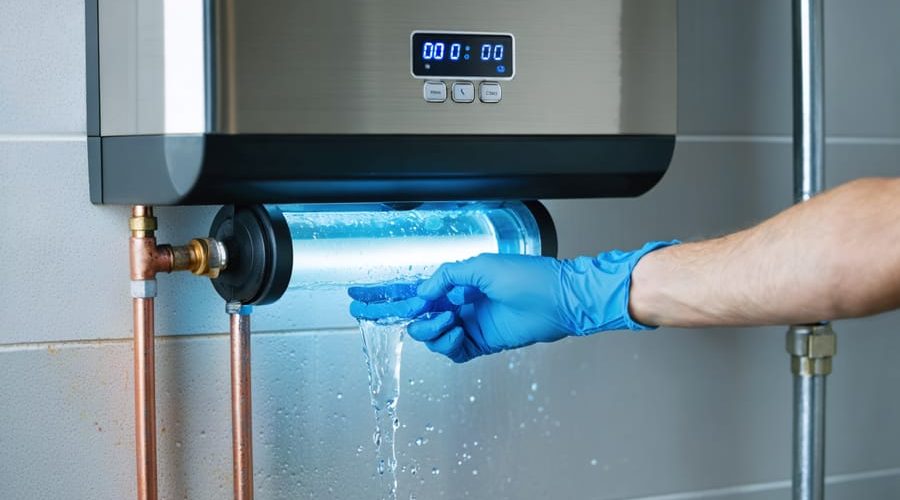
Here’s how the process works: as water flows through the UV chamber, it passes by a special UV lamp encased in a protective quartz sleeve. The UV-C light penetrates the cells of bacteria, viruses, parasites, and other pathogens present in the water. Once inside these microscopic invaders, the UV light attacks their DNA and RNA—essentially the genetic instruction manuals that tell these organisms how to function and reproduce.
Think of it like scrambling the code in a computer program. When UV-C light disrupts the genetic material, it prevents these microorganisms from replicating and rendering them harmless. They can’t multiply, they can’t cause illness, and they’re effectively neutralized. This happens in just seconds as water passes through the chamber—no waiting time required.
What makes UV disinfection particularly appealing for eco-conscious homeowners is its chemical-free nature. Unlike chlorine or other disinfectants, UV treatment doesn’t alter your water’s taste, smell, or pH level. Nothing is added to or removed from your water except the harmful microorganisms themselves. The process is purely physical, relying on light energy rather than chemical reactions.
The system operates continuously whenever water flows through your pipes, providing an automatic barrier against waterborne contaminants. It’s this combination of effectiveness, simplicity, and environmental friendliness that makes UV technology a cutting-edge solution for modern water treatment.
Choosing the Right Location for Your UV System
Pre-Filtration Requirements
UV light effectively neutralizes microorganisms, but it only works when water is crystal clear. Think of it like trying to see through a dirty window—particles, sediment, and cloudiness block UV rays from reaching harmful bacteria and viruses, allowing them to pass through untreated.
Without proper pre-filtration, your UV system becomes significantly less effective. Suspended particles create shadows where microorganisms can hide, and mineral deposits can coat the UV lamp’s protective sleeve, further reducing its germicidal power. Over time, this buildup forces you to clean or replace components more frequently, increasing maintenance costs.
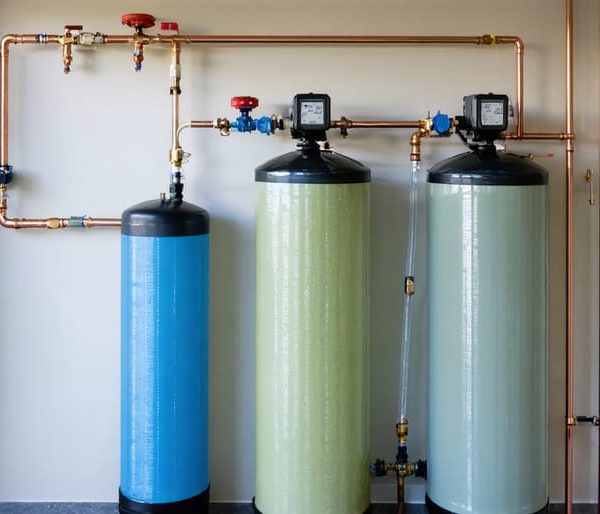
Most manufacturers recommend installing a 5-micron sediment filter before your UV disinfection unit. This removes sand, rust, and other particles that compromise treatment effectiveness. For well water or particularly turbid sources, you might need a multi-stage filtration setup including a larger 20-micron pre-filter followed by the finer 5-micron stage.
This simple filtration step protects your investment and ensures your family receives properly disinfected water. It’s an eco-friendly approach that maximizes your UV system’s efficiency while minimizing energy waste and premature equipment replacement.
Water Flow and Pressure Considerations
Water flow rate and pressure are critical factors that determine how effectively your UV disinfection system eliminates harmful microorganisms. Think of it like this: water needs adequate “contact time” with the UV light to ensure thorough disinfection. If water rushes through too quickly, bacteria and viruses may slip past without sufficient UV exposure.
Most residential UV systems work optimally at flow rates between 6 to 12 gallons per minute (GPM), though this varies by model. Your system’s specifications will indicate the maximum flow rate for safe disinfection—exceeding this limit compromises effectiveness. Similarly, maintaining proper water pressure (typically 25 to 80 PSI) ensures consistent performance without damaging internal components.
Before installation, assess your home’s typical water usage patterns. If you have a large household with simultaneous water demands—like running showers, dishwashers, and washing machines—you may need a higher-capacity system or multiple units. Installing a pressure gauge helps monitor system performance over time.
Remember, slower flow doesn’t necessarily mean better disinfection beyond the manufacturer’s specifications, but faster flow definitely reduces effectiveness. This balance between household water needs and disinfection requirements makes proper system sizing essential for both performance and sustainability.
Step-by-Step Installation Essentials
Tools and Materials You’ll Need
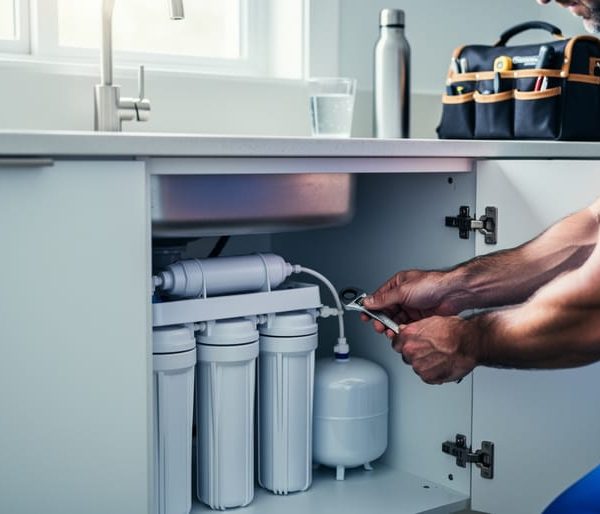
Before installing your UV disinfection system, gather these essential items to ensure a smooth, safe setup. You’ll need basic plumbing tools including an adjustable wrench, pipe cutter or hacksaw, and Teflon tape for secure connections. Have a drill with appropriate bits ready if wall mounting is required. For materials, purchase the correct UV unit sized for your home’s water flow rate, along with compatible fittings, bypass valves, and electrical outlets with ground fault protection. Don’t forget safety equipment—protective eyewear is crucial since UV light can damage your eyes, and work gloves protect your hands during installation. Keep a bucket and towels nearby for catching water during pipe work. A voltage tester ensures electrical safety, while a water pressure gauge helps verify your system operates within manufacturer specifications for optimal performance.
Common Installation Pitfalls to Avoid
Even with straightforward technology, UV disinfection system installation can go wrong without careful attention. One of the most common mistakes is improper electrical connections. Since UV systems require a dedicated power source, homeowners sometimes use incorrect outlets or fail to install GFCI protection, creating serious safety hazards. Always consult a licensed electrician if you’re uncertain about electrical requirements.
Another frequent pitfall involves inadequate sealing at connection points. Poor sealing leads to water leaks and allows untreated water to bypass the UV chamber entirely, defeating the system’s purpose. Use only manufacturer-recommended O-rings and fittings, and hand-tighten connections properly—overtightening can crack housings while under-tightening causes leaks.
Many homeowners also install UV units in locations with extreme temperatures or direct sunlight, which degrades components and reduces efficiency. Choose a cool, dry indoor spot with adequate clearance for lamp replacement.
Finally, skipping the pre-filtration step is a critical error. UV light cannot penetrate cloudy or sediment-laden water effectively. Install a sediment filter upstream to ensure your UV system delivers the clean, safe water your household deserves while maximizing this eco-friendly technology’s lifespan.
The Maintenance Schedule That Actually Works
When to Replace Your UV Lamp
UV lamps don’t actually burn out like traditional light bulbs—instead, they gradually lose their germ-fighting power over time. Most UV lamps need replacement every 9-12 months, even though they still appear to be working perfectly. This happens because the ultraviolet output naturally diminishes with use, dropping below the threshold needed to effectively eliminate harmful microorganisms in your water.
Think of it like sunscreen losing its protective strength throughout the day. Your lamp might still glow, but it’s no longer providing the disinfection protection your household depends on.
Watch for these signs that replacement time is approaching: reduced water pressure (which can indicate quartz sleeve buildup affecting lamp performance), any visible discoloration of the lamp itself, or simply reaching the manufacturer’s recommended replacement date.
The best approach? Set calendar reminders based on your system’s installation date. Many modern UV systems include helpful indicator lights or digital displays that count down to replacement time, taking the guesswork out of maintenance. Some homeowners mark replacement dates directly on their home maintenance calendar alongside other seasonal tasks like changing air filters—making it part of your eco-conscious routine ensures consistently safe, chemical-free water year-round.

Cleaning Your Quartz Sleeve: The Critical Step Most People Skip
The quartz sleeve is your UV system’s window to success—literally. This transparent glass tube surrounds the UV lamp and allows light to penetrate your water while keeping the bulb dry. When it gets dirty, however, even the most powerful UV lamp becomes ineffective. Here’s why this maintenance step matters and how to do it right.
**Why Mineral Buildup Is Your System’s Enemy**
As water flows past the quartz sleeve, minerals like calcium and magnesium gradually accumulate on its surface, creating a cloudy film. This buildup acts like sunglasses for your UV lamp, blocking up to 50% of the disinfecting light from reaching your water. Even a thin layer can significantly reduce pathogen elimination, leaving your household vulnerable to contaminated water.
**How to Clean Your Quartz Sleeve Properly**
Every three to six months, you’ll want to clean your sleeve—more frequently if you have hard water. Start by shutting off your water supply and unplugging the system. Carefully remove the sleeve according to your manufacturer’s instructions, wearing gloves to protect both the glass and your skin.
Use a solution specifically designed for quartz sleeve cleaning, or mix equal parts white vinegar and water. Gently wipe the sleeve with a soft cloth, avoiding abrasive materials that could scratch the surface. For stubborn deposits, let the sleeve soak in the cleaning solution for 15-20 minutes before wiping clean. Rinse thoroughly with distilled water and inspect for any cracks before reassembling.
Troubleshooting Problems Before They Become Disasters
Understanding Your System’s Warning Signals
Your UV system communicates through visual and audio alerts designed to keep your water safe. A flashing red light or alarm typically indicates the UV lamp has reached the end of its effective lifespan—usually after 9,000-12,000 hours of use, or about one year. This doesn’t mean the lamp is burned out; it simply can no longer produce enough UV intensity to properly disinfect water. Replace it promptly to maintain protection.
A yellow or amber indicator often signals reduced UV intensity due to a dirty quartz sleeve that needs cleaning. This eco-friendly maintenance task takes just minutes and restores your system’s performance. If your display shows “no flow” or a flow sensor alert, check that water is actually running through the system and verify the sensor isn’t obstructed.
Some advanced systems monitor water temperature and flow rate, alerting you when conditions fall outside optimal ranges. Always consult your owner’s manual for model-specific meanings, and never ignore warning signals—they’re your first line of defense in ensuring continuously purified water for your household.
Environmental Benefits and Energy Efficiency
UV disinfection systems offer remarkable environmental advantages that align perfectly with sustainable living goals. Unlike chemical treatments such as chlorine or bromine, UV technology purifies water without introducing any substances into your home’s water supply or the environment. This means zero chemical byproducts flowing into septic systems or municipal water treatment facilities, reducing your household’s environmental footprint significantly.
The energy efficiency of UV systems is surprisingly impressive. A typical residential UV unit consumes about the same electricity as a standard 40-watt light bulb—roughly 35-50 watts—making it one of the most energy-conscious water treatment options available. Over a year, this translates to minimal impact on your utility bills while providing continuous water protection. When compared to alternative disinfection methods that require heating water or running chemical injection systems, UV technology stands out as the clear winner for eco-conscious homeowners.
From a long-term environmental perspective, UV systems eliminate the need for plastic chemical containers, reducing packaging waste and the carbon footprint associated with manufacturing and transporting chemical disinfectants. The only consumable component is the UV lamp itself, which typically requires replacement annually, creating minimal waste compared to ongoing chemical purchases.
By choosing UV disinfection, you’re supporting cutting-edge water innovations that prioritize both human health and planetary wellbeing. This technology represents a meaningful step toward reducing household chemical dependency while maintaining the highest water quality standards, making it an excellent choice for families committed to sustainable, responsible living practices.
Cost Analysis: What You’ll Really Spend
Understanding the true cost of a UV disinfection system helps you make an informed decision that fits your budget and long-term goals.
**Initial Investment**
For most residential applications, expect to spend between $200 and $800 for the UV unit itself, depending on flow rate capacity and brand quality. Professional installation typically adds another $200 to $500, though many homeowners with basic plumbing skills can handle installation themselves with the right guidance. Budget-conscious families often start with smaller 6-12 gallon-per-minute systems for point-of-use applications, while whole-house systems with higher flow rates sit at the upper end of this range.
**Ongoing Operational Costs**
UV systems are remarkably economical to run. Most residential units consume about as much electricity as a 40-watt light bulb, translating to roughly $50-$80 annually in energy costs. This minimal power requirement makes UV an eco-friendly choice that won’t significantly impact your utility bills.
**Replacement Parts**
The primary recurring expense involves UV lamp replacement every 9-12 months, costing between $50 and $150 depending on your system. While the lamp continues producing visible light beyond this timeframe, its disinfection effectiveness diminishes. Some systems also require quartz sleeve cleaning or replacement every few years, adding another $30-$100 to maintenance costs.
**Long-Term Value Comparison**
Compared to bottled water—which costs the average household $500-$1,000 annually—UV systems pay for themselves within the first year. Unlike chemical treatment methods requiring constant supply purchases, UV disinfection offers predictable, minimal ongoing expenses. Over a ten-year lifespan, total ownership costs typically range from $1,500 to $2,500, making it one of the most cost-effective water treatment solutions available.
Maintaining your UV disinfection system doesn’t have to feel overwhelming. With a straightforward maintenance routine—replacing bulbs annually, cleaning quartz sleeves regularly, and monitoring system alerts—you’re investing just a few hours each year to protect your family’s health. Think of it as similar to changing air filters or servicing your HVAC system: simple tasks that deliver significant benefits.
The beauty of UV technology lies in its simplicity. Unlike chemical treatments that require constant adjustment and monitoring, your UV system works silently in the background, providing continuous protection without altering your water’s taste or adding anything artificial. This eco-friendly approach aligns perfectly with sustainable living values while delivering cutting-edge water purification.
Take control of your water quality today by creating a maintenance calendar and stocking up on replacement parts. Set reminders for bulb replacements, perform visual inspections quarterly, and keep your system manual handy. When you notice anything unusual—dimming lights, error codes, or changes in water flow—address it promptly. Your proactive approach ensures uninterrupted access to clean, safe water for years to come. Clean water isn’t just a luxury; it’s a fundamental right you can confidently protect.