You can make your own whole house water filter by constructing a gravity ceramic water filter, a DIY Berkey water filter, or a combo filter to get clean drinking water. All you need is a guide and the necessary materials.
Three DIY Whole House Water Filtration System
1. Gravity Homemade Water Filtration System With Ceramic Cup
Ceramic water treatment systems are common DIY whole house water filters because they’re cost-efficient and straightforward to construct.

In terms of construction, it shares a similarity to the Berkey water filters. However, the difference is that these homemade water filters don’t use the elements used in Berkey water filters.
This whole house water filtration system utilizes a ceramic shell with an activated carbon filter. This shell serves as the pre-filter. It removes water contaminants such as dust, insoluble solids, and microbes. The shell handles the physical filtration process of the water. The activated carbon filter is tasked with the chemical aspect of the filtration process.
The activated carbon eliminates contaminants (minerals like iron and manganese), including those responsible for giving the filtered water an unpleasant taste and smell.
Materials
- Two big lidded buckets
- A ceramic filter casing/cartridge
- A faucet
- A drill with a half (1/2) and a three-eight (3/8) drill bit
Steps
- Use your drill to puncture two holes. The first hole is drilled in the center of the bottom of the first bucket. The second hole is drilled in the middle of the cover of the second bucket.
- Fix the ceramic filter casing in the bottom hole you’ve drilled, and then turn the bucket back into an upright position. Please make sure it is directly in alignment with the hole on the cover of the second bucket. Fasten nuts on the ceramic filter casing to keep it fixed.
- Finish setting up your water treatment system by placing the first bucket on the second bucket. This way, the ceramic filter placed at the bottom of the first bucket filters water, and the second bucket receive filtered water.
- Turn on your faucet so the filtered water comes out as tap water.
Things to Know
This whole house water filtration system is not expected to be fast. However, depending on the capacity of your buckets, you can expect a specific volume of drinking water daily. For instance, a bucket that’s 5 gallons in measurement can produce within the range of 12-15 gallons daily.
If you want to make this setup faster, you should opt for bigger buckets. The deeper the bucket, the stronger the water pressure on the filter. Another way will be to increase the height at which the buckets are placed and insert a siphon at the base of the first bucket to ensure water flows steadily.
These attempts to improve flow speed come with disadvantages, such as increasing the cost of setting up this DIY water system, which will likely require some labor.
2. The DIY Berkey Water Filter System
Berkey is an established water purification system brand. But, for those who can’t purchase one of their own, you can still build your own homemade water filter. The beauty of this DIY water system is its network of filtration elements that filter water.
Materials
The materials for this whole house water system are almost identical to the ceramic water filter, except the Berkey filter elements.
- Two big buckets with covers (ensure they are free of BPAs and can be stacked atop one another)
- One faucet
- 4-8 Berkey filtration elements
- A drill with a half (1/2) and a three-eight (3/8) drill bits
Steps
Below this video, you will find all steps explained in more detail. But for now, let’s have a quick look at how to make your own Berky water filter at low cost:
- Get these buckets ready for whole house water filtration by thoroughly cleaning them.
- Use the three-eight (3/8) drill bit to puncture 2-4 holes (the number of holes should depend on the number of filtration elements) on the cover of one of the buckets.
- Use the same drill bit to drill an identical number of holes at the bottom of the other bucket. While drilling, stack the buckets on top of each other to get a perfect alignment
- Put the first bucket (with the hole at the top) atop a table and use the 1/2 drill bit to create a hole near the base. Insert one washer outside that hole and a second washer inside the same spot while inserting your faucet.
- Open the Berkey element pack. You’ll see a tiny button with a hole at its center. Press it on the Berkey element by putting a stem with threads on the hole.
- Hold the stem and press its button on your faucet. Then gradually turn on your faucet to permit water to run through the Berkey element for about 15 seconds. At this point, the element will be wet enough.
- Do the same with the other Berkey elements.
- Place these elements onto the setup. First, place the stem through the hole at the base of the second bucket. Next, place the setup upside down, put the lid of the bucket (with holes at the top layer), and ensure it matches that of the other bucket (with holes at the bottom layer).
- Attach the nuts to hold the elements in place.
- Reposition your setup to its correct position when done.
Things to Know
To get the best results from these DIY water systems, do a test run of the completed setup by releasing the water supply at full capacity. Dispose of the treated water to get rid of any contaminant remaining in the filters.
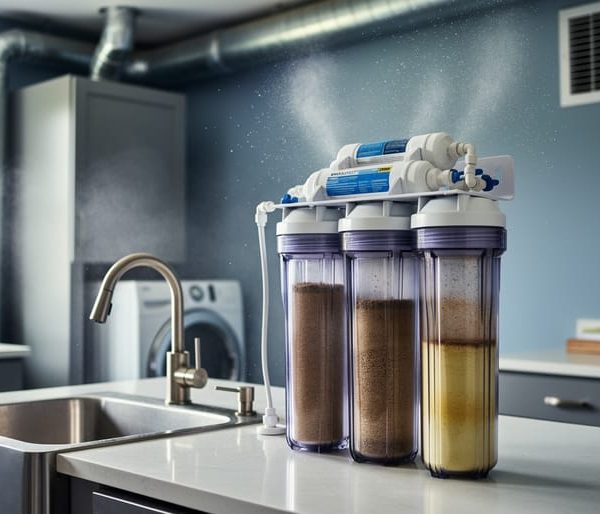
3. A DIY Combo Water Filter
The concept behind this water filtration system is to combine parts of different but distinct whole house water filters and combine them in series. You can choose between housings that can take cartridges between 10-20 inches long and 2.5-4.5 inches wide.
These are the standardized cartridge sizes in the industry. This means that virtually every water filter brand designs their filter housings to those exact measurements. So you can combine different parts from different filters.
The filter parts or components from popular brands are usually designed to fit just their filter unit. Therefore, they hardly fit in with filter parts from other companies. This is why their price is less budget-friendly.
For this DIY Combo filter, the larger the size of the filter used, the more the flow of the water. Opting for a filter that’s 10 inches long and 2.5 inches wide only works for very small households. In a larger home, it won’t be sufficient. Opting for a filter that’s 20 inches long and 2.5 inches in width can increase the water supply to your home. It is ideal for homes with more than one bathroom. If your home is very large, opt for a filter size that’s 4.5 inches wide and 20 inches long.
The bigger the filter, the better. Bigger filters need replacements less frequently as they last longer than filters of smaller sizes.
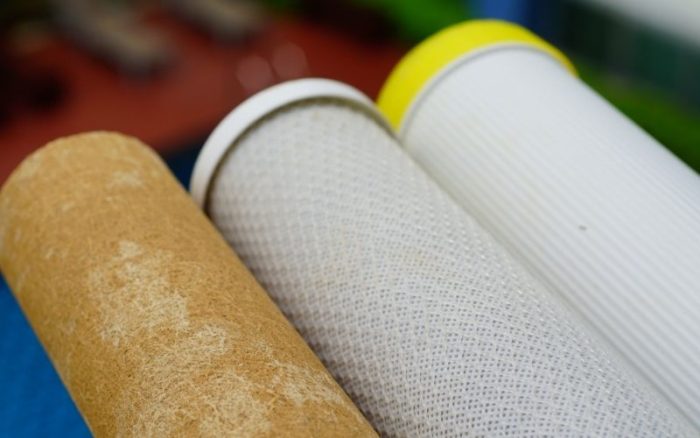
It’s recommended you use three filters (a 20-micron pre-filter to remove sediments, a 5-micron filter, and lastly, a 1-micron filter). The first filter will stop the biggest particles or contaminants and prevent them from impairing the smaller filters. If your water source is a well, you may want to start with a 50-micron filter to eliminate sand, muddy slush, and rust. But as for city water, you can bring the 20-micron filter.
Materials
- A filtration system with the various parts
- Drill
- 1/2 and 3/8 drill bits
- Two plastic/metal wrenches
- A pipe cutter
- A Bucket
- Teflon/plumbing tape
- Screwdriver
- Solder supplies (not compulsory)
- Mounting brackets (may not be needed)
- Tubing/Hose
- Control valves to shut off the water supply
- Bypass valves (not mandatory)
- Gauges for water pressure (not mandatory)
- Various kinds of connectors such as push fittings, elbows fittings, and tees, among others.
- You can get this at any hardware store.
Steps
Before you begin, ensure that you don’t violate the plumbing codes in your locale.
- Select a location that can be accessed quickly, and it’s near the juncture at which the main water pipe connects to your home. This is the best place to set up your homemade filter to ensure every faucet and outlet in your house will bring out treated water. If you have a water softener, ensure that your water filter is close to your water softener as well.
- Shut off the valve on your main pipe to avoid major leakage. Also, open faucets nearby to drain out any water remaining in the pipes. This setup will need a lot of dry fittings. Opt for push fittings as your connection if you don’t know how to solder.
- Cut the main water lines and remove a large section of the pipes to contain all the components of your water filter. Have a bucket ready to avoid spillage.
- Solder both ends of the pipes you’ve cut and clean the pipes thoroughly to eliminate any sediment or dirt inside.
- Put two control valves, one at either side of the filter, to make its maintenance easy. It’s also recommended that you install bypass valves so that you can still have access to water while your water system is undergoing maintenance. Then, shut off both control and bypass valves.
- Place a pressure gauge near each control valve to monitor the pressure of the water input and output.
- Place a piece of wood (preferably plywood) on the wall to make the mounting process of the filter easier. Then install the filter. The filter will include many dry fittings, and it’s best to use a flexible pipe. Ensure that the inlet and outlet ports are facing the right direction. If the port doesn’t align with your pipe size, use adaptors for those ports.
- Wrap the Teflon tape on every threaded end to seal them off and prevent water leakage. You won’t need to solder if you’re using push fittings for your connection. However, if you opt for soldering, ensure that the ends of the pipe are cleaned. Also, don’t take the soldering iron close to the plastic surface.
- If your filter has cartridges, clean their insides using warm water to remove any debris before you install it. Lubricate the o-shaped rings and ensure that they are well-positioned. Turn on the control valves except for the bypass valve and check if there’s any leakage so you’ll know where to tighten.
- Certain homes use their water piping to ground their electrical connections. In such cases, one can use grounding clamps to attach a copper wire from one end of the filter to the other. This way, the electrical grounding stays undisturbed.
Now open the valves for some minutes to let the system flush air, remnant water, and installation dirt. To activate the filtration media, check your manual. Once the pressure has been normalized, close all outlets and faucets. Now you have access to drinking water.
Last Words
If you can not afford a new whole-house water filter, you can still build your own homemade water filter. To make your own whole house water filter you need the right tools and a comprehensive guide.
I hope that this guide provided enough details on the different types of DIY water filters, the materials needed to construct them, the steps to set them up, and finally, things to know about house filtration systems.